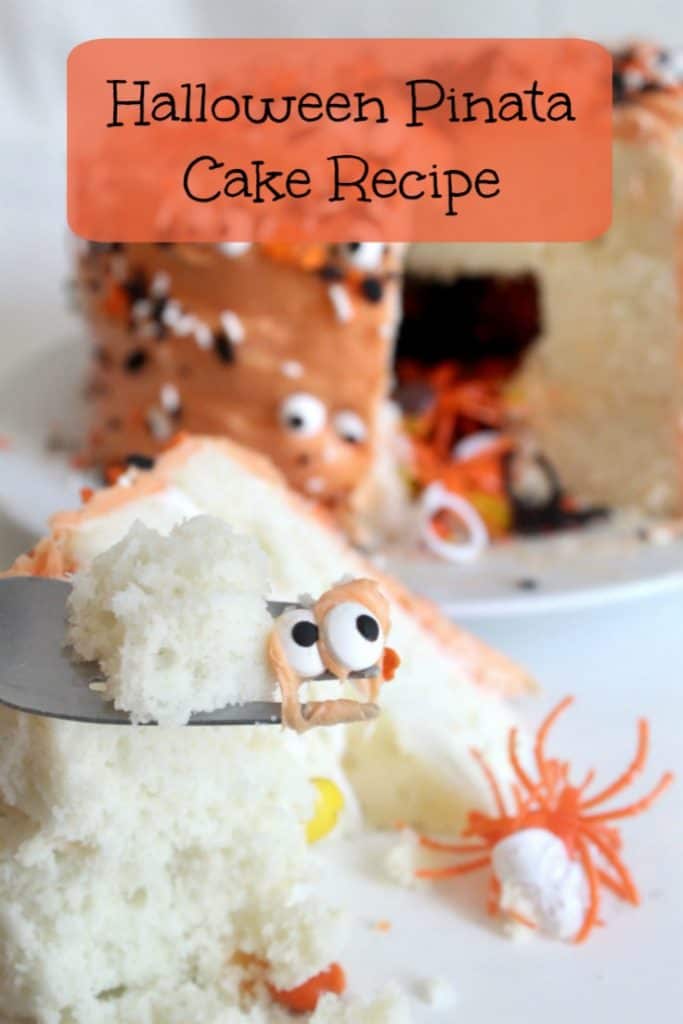
Are you homeschooling a perfectionist this school year? Teaching a perfectionist can be one of the most frustrating things you will ever take on. In fact, I used to wonder if I would ever learn how to teach a perfectionist. I have shared some tips with you below to help you not only endure this adventure but thrive at it.
A Letter a Week – Letter H
This week we are working on the letter H in our letter a week lessons. We started with H is for Hot! I decided it would be fun to do a little craft to go with it. C did not want to be in the pic. Can you tell?
Fill one bowl with Ice water and one bowl with HOT water. Be careful not to get it too hot though. Think hot for little hands. =)
Let your little one dip their hands in and feel each one. If you child is like C, you will wish you didn’t do this on the table because of the splashing.
H is for Hopscotch. Let me start by saying playing hopscotch with a 4 year old is quite the experience. He had me giggling quite a bit. He thought he should rethrow the stick before every jump. It was fun for him to hop a lot. Honestly, I think I could have made it H is for hop and he would have been just as happy.
Chalk is also a great way to get your child to practice lettering. I wrote the letter H for C and he practiced his as well.
H is for Hands
For hands we made a lovely handprint Fall Tree.
Use whatever paper you have on hand. I have a roll of this paper so I just cut a piece off.
Draw your child a tree trunk. If you think your child can make their own please let them. I know C would go everywhere except a tree trunk.
Doing handprints is a lot easier if you paint a little bit of paint on their hands and then do it instead of letting them put their hands in the paint.
Use a variety of fall colors and let your child fill up the tree. If you have a spot drop, tell them to turn it into a leaf. They won’t know the difference.
Let them make fingerprint grass. It’s so fun!
We made a golden sun and C decided it had to be a Happy sun because H is for Happy.
What are you doing this week to learn the letter H?
Repurpose Scraps with this Great Fall Wreath!
Yesterday R came to me and asked if we could craft together. She wanted to make something for fall. We sat down together and dreamed up this sweet Fall wreath.
You Will Need:
Fabric – Cut into strips. This can be any kind of fabric you like.
Glue Gun – You will need a few sticks of glue for this project.
Patience – This is a time using project. Don’t do this if you want something quick.
Posterboard, Cardboard, or a foam wreath circle.
Cut your board into a circle. I am sure you can make yours a lot more symmetrical than mine. I let my 6 year do it the way she wanted it.
Cut your fabric into strips of varying lengths. You will need to cut enough for your wreath and for the rosettes.
Before making your rosette fold your strip in half. Because R is 6 and she was having a hard time holding it, I glued all of hers in half for her so she would not have to hold them.
Roll your fabric strip. You will have to glue it every round or so to hold it tight. You can really use creative freedom here. If you want them tight you can pinch them tight. You can let the frayed end be on top or underneath. You can twist it as you wrap it for a different look as well.
**You know your child’s abilities. I did the gluing for Rachel so she didn’t get burned. I will leave it to you. If you think your child can safely glue you can let them.***
You will end up with something that looks like this. Glue it onto your wreath wherever you would like your rosettes to be.
After you have most of your rosettes on you will want to wrap your circle with fabric. I glued mine each time it went around to be sure it would hold well. You can use multiple colors or styles depending on the look you are going for.
After you finish wrapping your fabric add a few rosettes to cover up any evidence of putting the fabric on. Hang it up and enjoy. We love ours and it’s just the touch of fall we needed.